QB Daylily Gardens
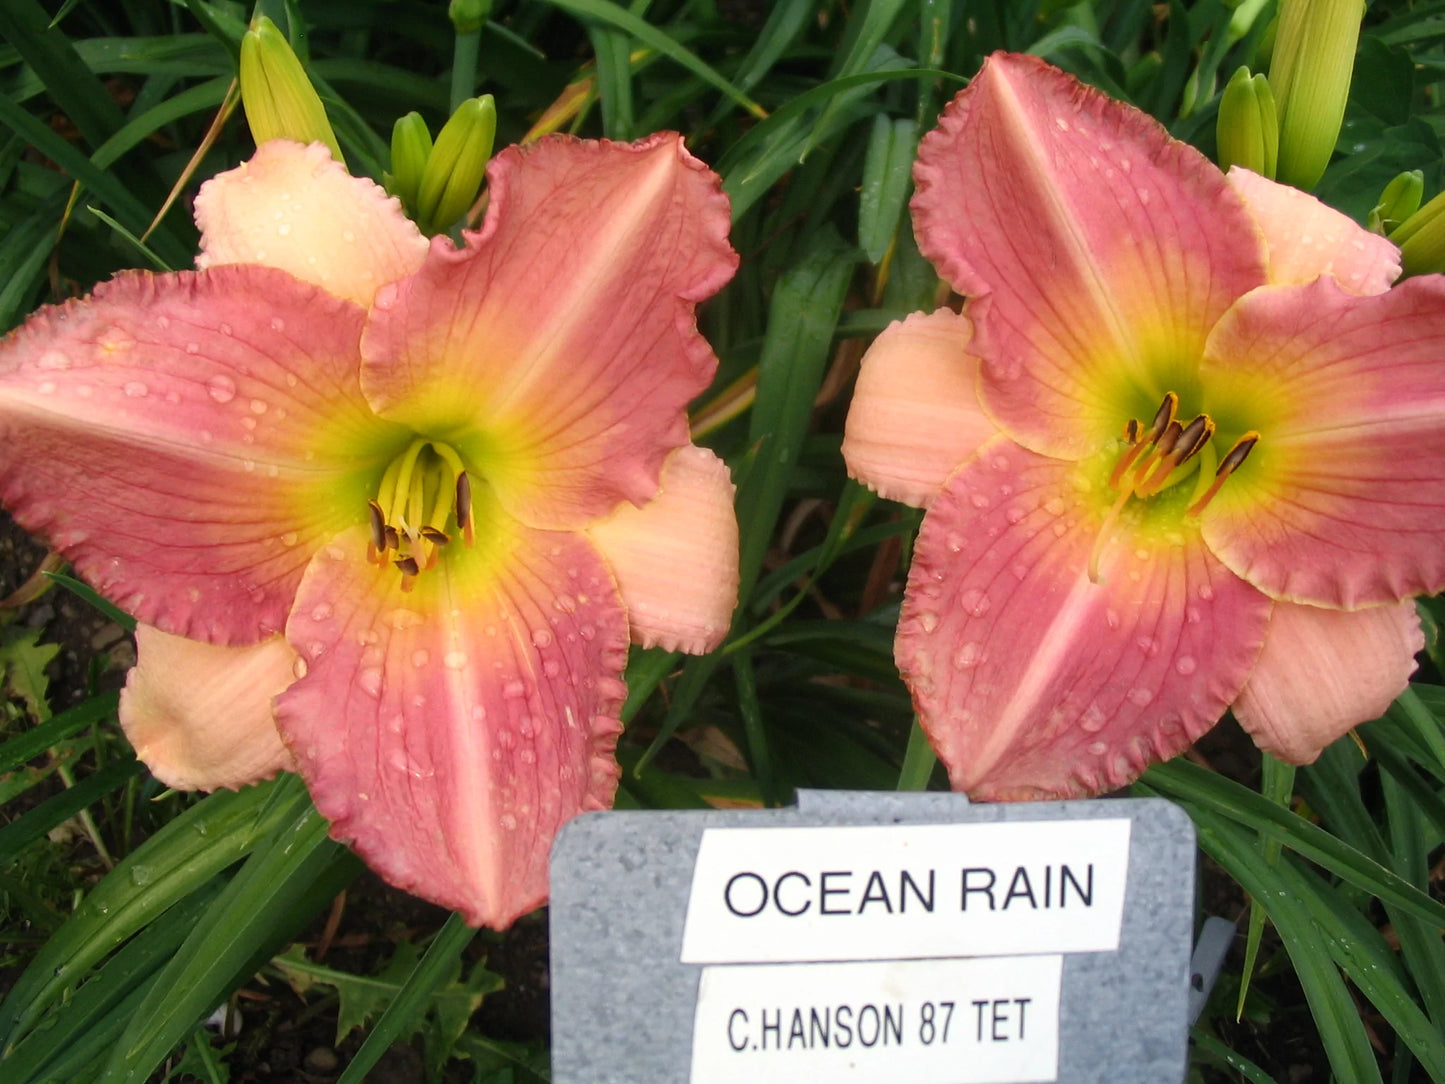
OCEAN RAIN
OCEAN RAIN
Couldn't load pickup availability
Description: ORCHID PINK BLEND YELLOW THROAT
Hybridizer: HANSON C
Intro Year: 1987
Type: TET / SEMI-EVERGREEN
Height: 26in.
Bloom Size: 6in.
SEASON: EARLY-MID
Shipping
Shipping
Shipping is a flat rate of $15 per order, USPS Priority Mail. Shipping is FREE for orders over $100.
Care Instructions
Care Instructions
In general Daylilies are an amazingly low-maintenance perennial. They are easy to grow, nearly disease- and pest-free, and able to survive drought, uneven sunlight, and poor soil.
There are thousands of beautiful daylilies to choose from. By combining early, mid-season, late blossoming varieties, and repeat bloomers you can have daylilies in flower from late spring through the first frost of fall.
When to Plant Daylilies
- Plant daylilies in the spring as soon as soil can be worked until early fall, at least 6 weeks before the first frost.
Choosing and Preparing a Planting Site
- Although daylilies will survive in less-than-ideal conditions, daylilies thrive in well-drained soil and prefer full to light shade. Select a spot in your garden that receives at least 6 hours of sun per day.
- Soil should be slightly acidic to neutral (pH 6.0-7.0).
- Don’t plant near trees and shrubs that will compete for moisture and nutrients.
- To increase organic matter, add aged manure or compost to the soil before planting.
How to Plant Daylilies
- Dig a hole wide enough for the roots to be spread out.
- The crown of the plant (where roots and leaves meet) should be buried about 1 inch deep.
- Fill in soil, lightly packing it down around the plant.
- Water until the soil is well saturated.
- Larger plants get established faster and produce more blooms quicker. We suggest not separating fan groupings below 3 fans when establishing new clump.
How to Care for Daylilies
Daylilies require little to no care and can even survive with neglect but if you want these flowers to thrive and perform at their best, here’s how to give them a little TLC.
- Water newly planted daylilies once a week until established.
- Daylilies are fairly hardy and drought tolerant so they can survive without watering. However, they prefer about an inch of water per week; normal rainfall will supply much of that amount. If you’re suffering from a dry spell or live in a drier climate, water them and they will reward you with more blooms.
- Add mulch around the plant to keep it moist and to help minimize weeding.
- Daylilies do not require fertilization as long as the soil is reasonably fertile. However, you can encourage stronger bloom performance with a little general purpose fertilizer (10-10-10) once a year in early spring as new daylily top grow emerges. Spread a handful at the base of each daylily clump and water if dry. If you wish, you could fertilize daylilies a second time after they are finished blooming to help your plants multiply faster in the future.
- Deadheading is not necessary but you can remove spent blooms to prevent seed production and to encourage more blooming. Just snip off their blossoms as you see them wilting. Most daylilies do not self-sow; you need to divide daylilies to create new plants (see how below).
- Once all of the flowers have blossomed on a daylily scape, you can cut the entire scape back to the ground right away or in the fall or not at all. If you do not cut it back, it will simply turn brown and remain standing.
- However, in early spring, remove the dead foliage from the previous year’s growth before new growth resumes in the spring.
- Add aged manure or compost to the soil around the plants in the spring.
Dividing and Transplanting Daylilies
Daylilies can be aggressive spreaders and will likely require dividing at some point (usually every 3 to 5 years). In addition to controlling their spread, dividing will also reinvigorate plants, resulting in better and more frequent blooms.
Dividing daylilies:
- Though dividing can be done any time the soil is workable, it is best done right after the daylily has finished blooming. Note: The plants need at least 6 weeks to get re-established before winter.
- Dig up the entire root clump.
- Remove as much soil from the roots as possible. Soaking the roots in a bucket of water helps to get rid of excess soil.
- Locate the crown of the plant. Starting from the outer edge, break it into smaller clumps (usually 3 to 4 per plant). Each clump should have healthy roots and at least a few leaves.
- Cut the leaves back to approximately one third of their original length (5 to 6 inches, generally).
- Replant and water thoroughly.
More Daylily information available from the American Daylily Society [ https://daylilies.org/daylilies/ ]
If you have any other daylily questions, just send us an email (QBDaylilyGardens@AOL.COM) and we’ll be glad to answer your questions.

